1. 클라우드 우분투 서버에 접속을 위해선 putty 클라이언트 필요 (다운로드요망)
https://www.chiark.greenend.org.uk/~sgtatham/putty/latest.html

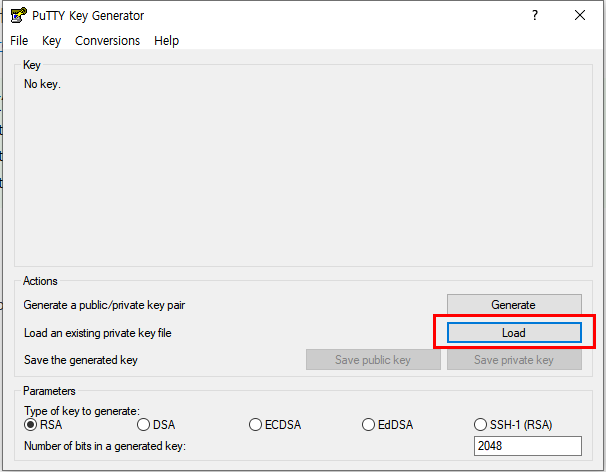
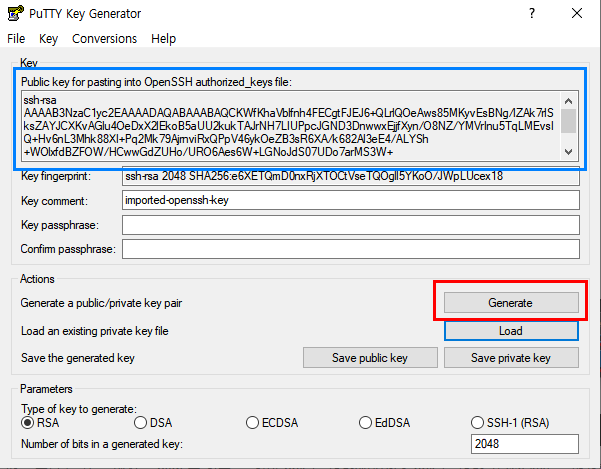
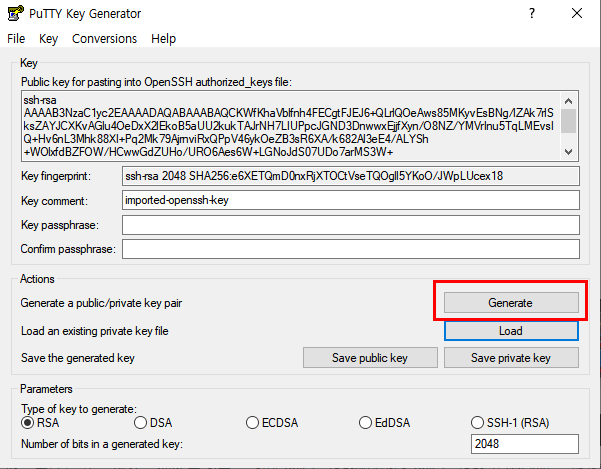
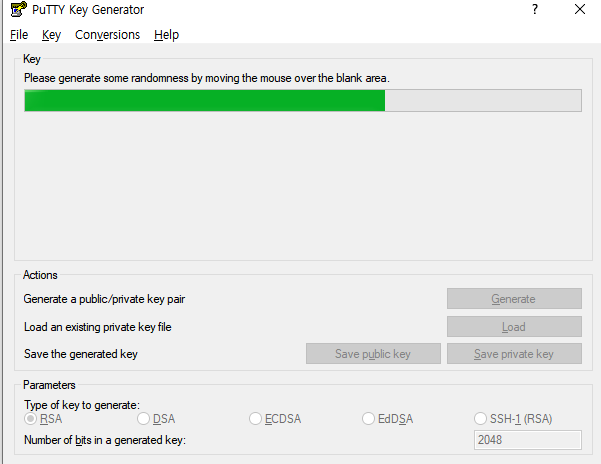
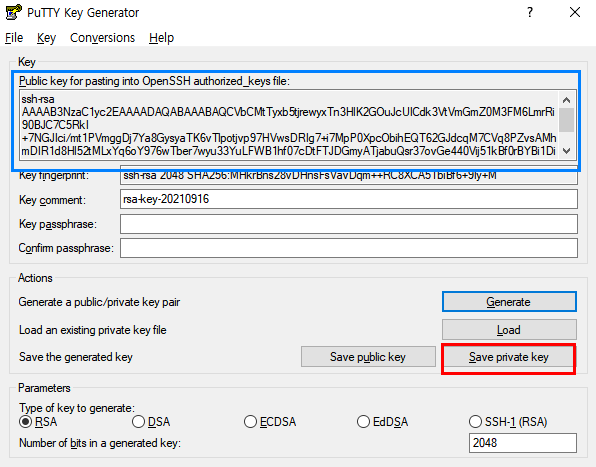
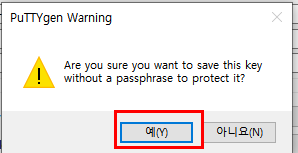
2. 다운로드 완료 후 puttyGen 실행


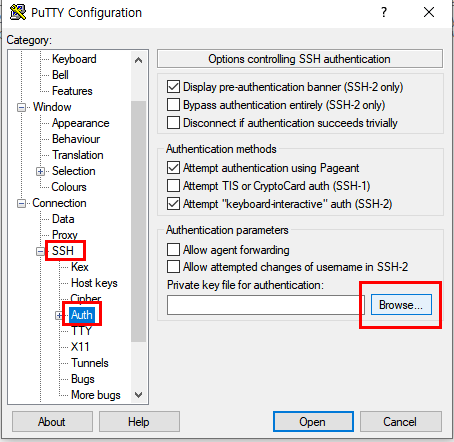
3. putty 실행
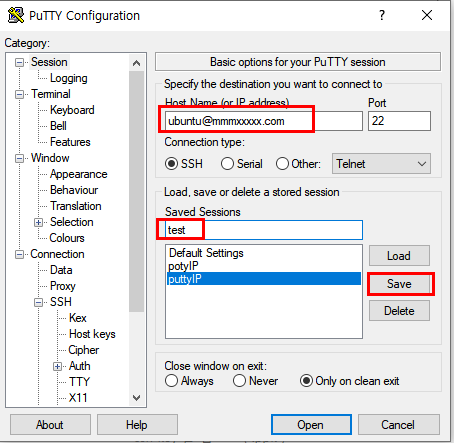
도메인 이름을 등록하고 Saved Session 에 원하는 이름을 입력하고 save 하면
해당 ip 로 putty 세팅했던 값들이 저장된다. 다음에 접속할 때는 지정했던 session 이름 을 클릭하고 Load 만 누르면 ssh key 를 포함한 세팅값들이 자동 기술되어 Open 만 클
릭하여 접속하면 됨
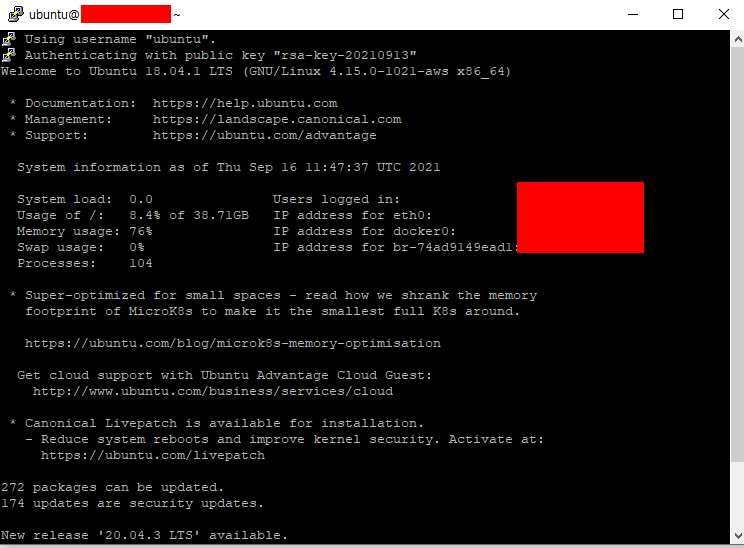
4. 접속 화면
tip )
publickey 접속 오류 날 때는 https://sculptingdeveloper.tistory.com/2
AWS(lifesale) /ubuntu 18.04 / putty 접속 (server refused our key error)
스택오버플로우 참고 https://stackoverflow.com/questions/20864224/putty-getting-server-refused-our-key-error/49176668 Putty: Getting Server refused our key Error I created key pair using puttygen.exe..
sculptingdeveloper.tistory.com
다음은 서버에서 도커 설치 -> 컨테이너 생성
'AWS CLOUD SERVER 배포 (feat. UBUNTU)' 카테고리의 다른 글
| 도커 /클라우드서버(AWS lightsail + 우분투 ) 를 이용한 배포 -최종(6)- (0) | 2021.09.16 |
|---|---|
| 도커 /클라우드서버(AWS lightsail + 우분투 ) 를 이용한 배포 -최종(5)- (0) | 2021.09.16 |
| 도커 /클라우드서버(AWS lightsail + 우분투 ) 를 이용한 배포 -최종(3)- (0) | 2021.09.16 |
| 도커 /클라우드서버(AWS lightsail + 우분투 ) 를 이용한 배포 -최종(2)- (0) | 2021.09.16 |
| 도커 /클라우드서버(AWS lightsail + 우분투 ) 를 이용한 배포 -최종(1)- (0) | 2021.09.16 |


